ARTIST WITH CAMERAS
The Film LabFujicolor PRO 400HDatasheet AF3-176E

Rebuilding Fuji 400H from the datasheet

Turn your digital camera into the film pro wedding photographers loved. No eyeballed sliders: we digitized Fujifilm’s own curves, simulated the film’s four color layers, and scanned it the way a lab would.

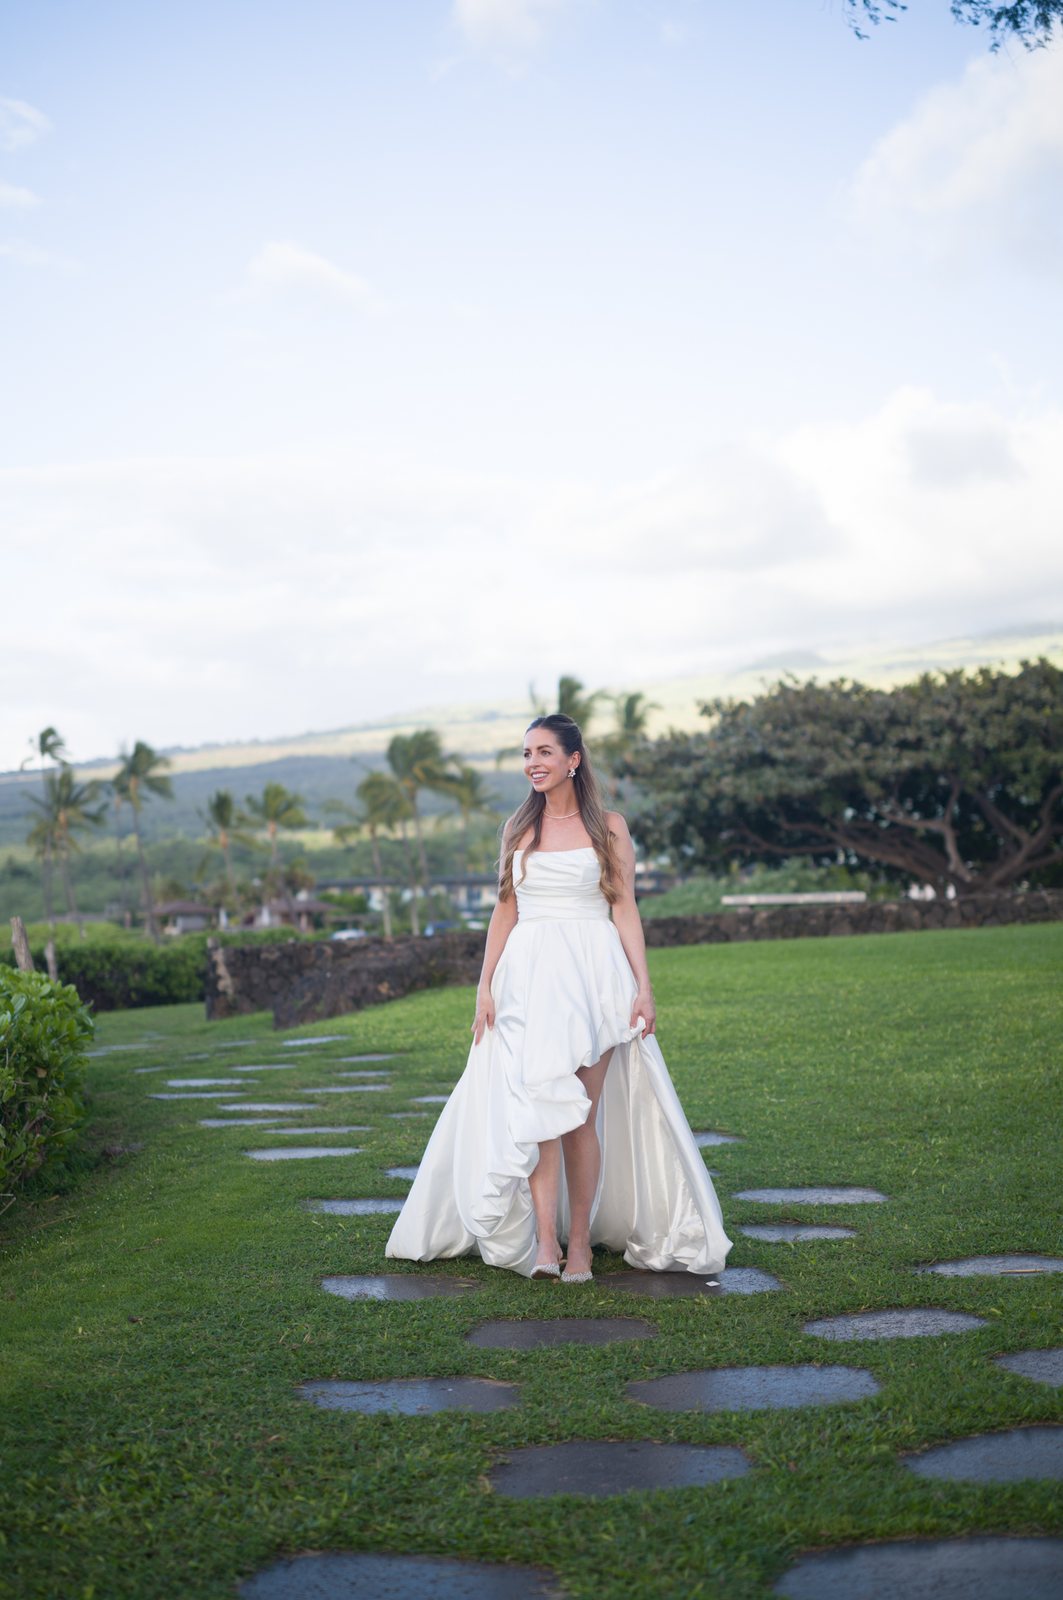
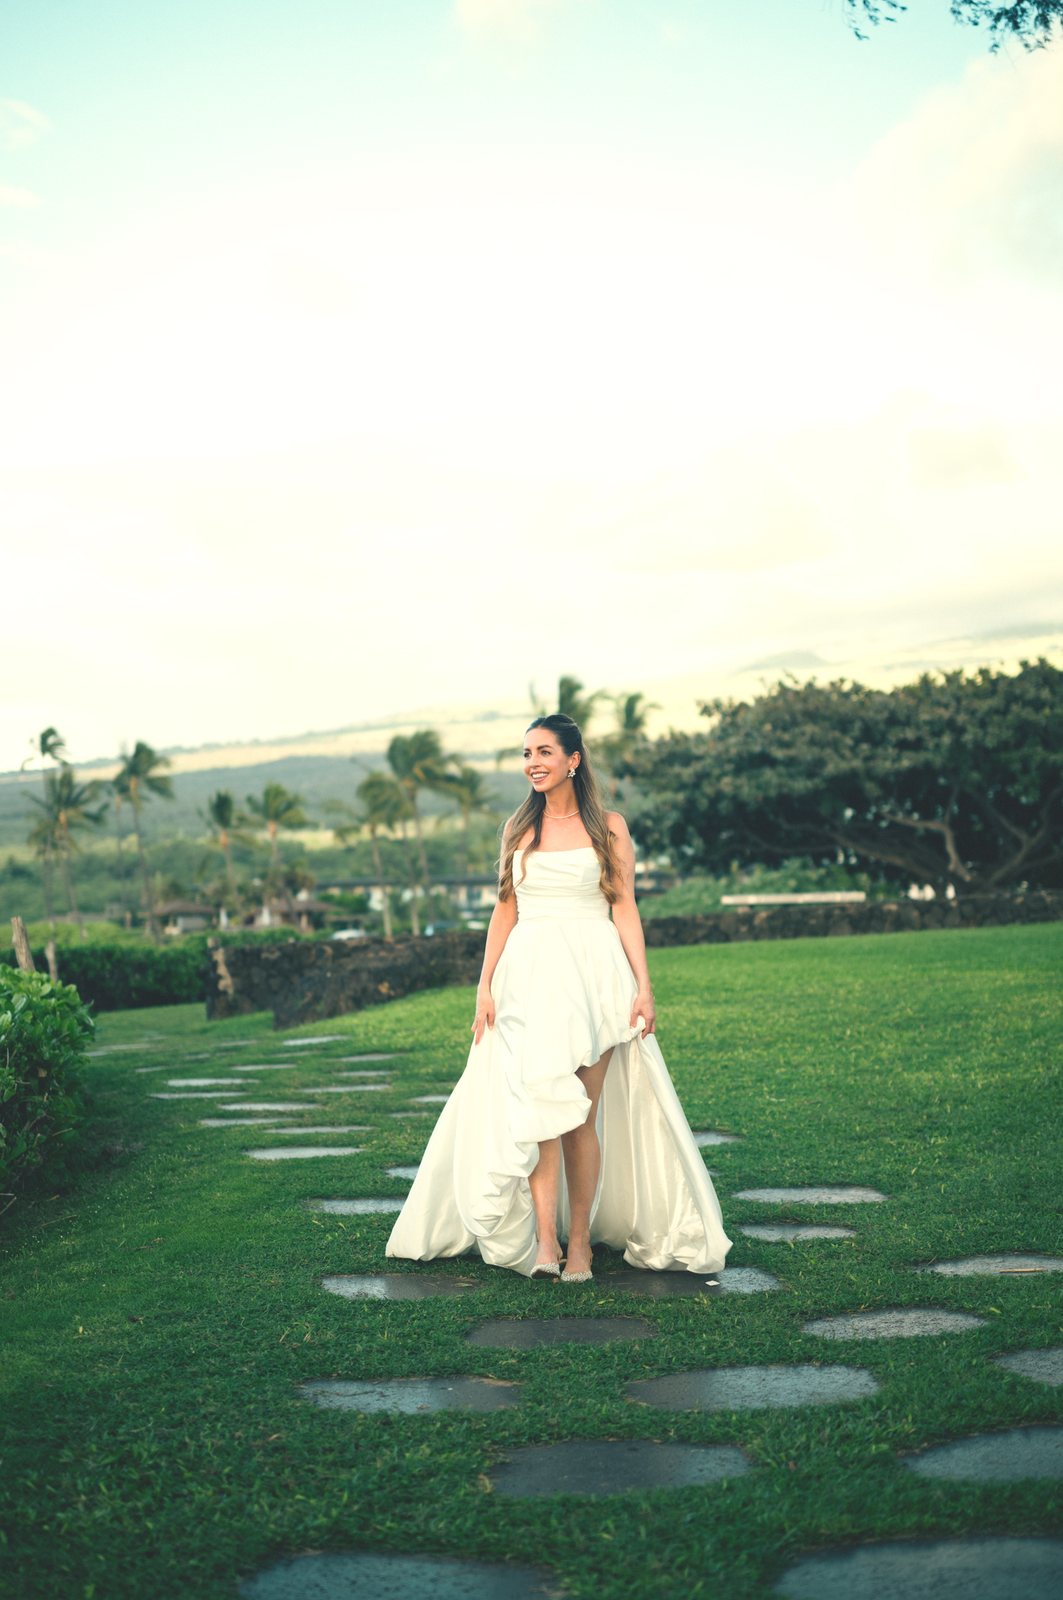
A bride in a white gown on a garden lawn in Wailea, the digital file from a Leica M11 The same bride with The 400H: the lawn turns the cool, deep 400H green and the sky goes pale and airy Leica M11 straight out of camera (SOOC)400H
Drag the handle. Left: the Leica M11 file, exposure only. Right: The 400H. Watch the lawn: those greens are what 400H was known for.
Sixteen weddings, one minute. Each frame starts as the Leica M11 file with only my exposure, then wipes to The 400H.

Fujicolor PRO 400H was the wedding photographer’s film: pale pastel skin, minty greens, skies that lean cyan, and highlights that never seem to run out. Fujifilm stopped making it in 2021. My first 400H preset was built the usual way, by moving sliders until it looked right, and it never did. It was flat in the wrong places and green in the wrong places. So this time Claude and I started from the source: the datasheet Fujifilm published for the film.

What Fujifilm published

Every professional film shipped with a technical bulletin. For PRO 400H it is AF3-176E, and its last page holds four graphs. We rendered that page at 300 dpi, found the grid lines, and traced every curve column by column, a few hundred points per curve. Where Fuji’s own labels sit on top of a curve (“Blue”, “Green”, “Red”), we bridged the gap from the clean sections on either side.

Fujicolor PRO 400H characteristic curves−4−3−2−1010123log exposure (lux·s)densityBlueGreenRed
Characteristic curves. Exposure in, density out. Contrast is gentle: about 0.53 blue, 0.56 green, 0.61 red.
Spectral sensitivity of the four PRO 400H layers400450500550600650700−0.50.00.51.01.5wavelength (nm)log sensitivityBlueGreenRedCyan · 4th layer
Spectral sensitivity of the four layers. The dashed curve is the one that makes 400H different.

To check the tracing, we compared it with an independent digitization of the same datasheet from the open-source spektrafilm project. The peaks agree within 2 nm and the shapes within about 0.02 log units. Every number in the profile comes from Fuji’s page, not from anyone else’s data.

4color layers, not three: Fuji’s cyan-sensitive “4th layer”
0.56green gamma: a soft negative, made for latitude
2 nmagreement with an independent digitization

The fourth layer

Ordinary color film has three layers, sensitive to blue, green and red. Your eye is stranger: its red response actually goes negative for blue-green light around 500–550 nm. A film without that negative lobe records cyan-greens and mixed artificial light wrongly. Fuji’s answer was a fourth, cyan-sensitive layer that holds back the red layer wherever blue-green light falls. In effect it gives the film’s red record the same negative lobe the eye has.

The red record with and without the fourth layer4004505005506006507000.00.51.0wavelength (nm)relative responsenegative lobe from the cyan layerred record
The red record as published (dashed) and with the fourth layer’s inhibition (solid). The dip below zero is what keeps greens clean and minty and skin pink rather than orange under mixed light.

A slider preset can’t do this, because it works on colors after the camera has already mixed the light into RGB. The 400H look lives one step earlier, in how each wavelength exposes each layer. So we simulated that step.

How the simulation works

  1. From color back to light. For every input color we construct the smoothest reflectance spectrum that produces it under daylight. It’s the most plausible real-world surface behind that pixel.
  2. Expose the four layers. That spectrum, lit by daylight, is integrated against Fuji’s blue, green and red sensitivities. The cyan layer’s response is subtracted from the red layer’s, the way the fourth layer inhibits it in the emulsion.
  3. Develop the negative. Each layer’s exposure goes through Fuji’s published characteristic curve to become a density, toe and all, with the film rated a stop over by default, the way most of us shot 400H.
  4. Scan it like a lab. A Fuji Frontier-style step neutralizes the orange mask, balances each channel on gray and on a highlight, inverts the negative, and prints it through a soft shoulder. The film’s toe becomes the lifted, milky shadows; the long straight line becomes highlights that hold.

The whole chain is computed for 32,768 colors and stored as an RGB table inside a Lightroom creative profile, the same format Adobe uses for its own creative profiles. It works on raw and JPEG files from any camera, with an Amount slider from 0 to 200%.

What it does to your pictures

  • Skin goes a touch paler and softer, and stays on the skin line instead of turning orange.
  • Greens turn cooler and softer: tropical foliage reads sage and mint instead of neon.
  • Skies and sea lean cyan, the classic 400H blue.
  • Yellows and oranges are calmer than digital, while the scan keeps color rich rather than washed out.
  • Shadows keep a soft, slightly cool black; highlights roll off gently, so white dresses and bright skies hold detail.
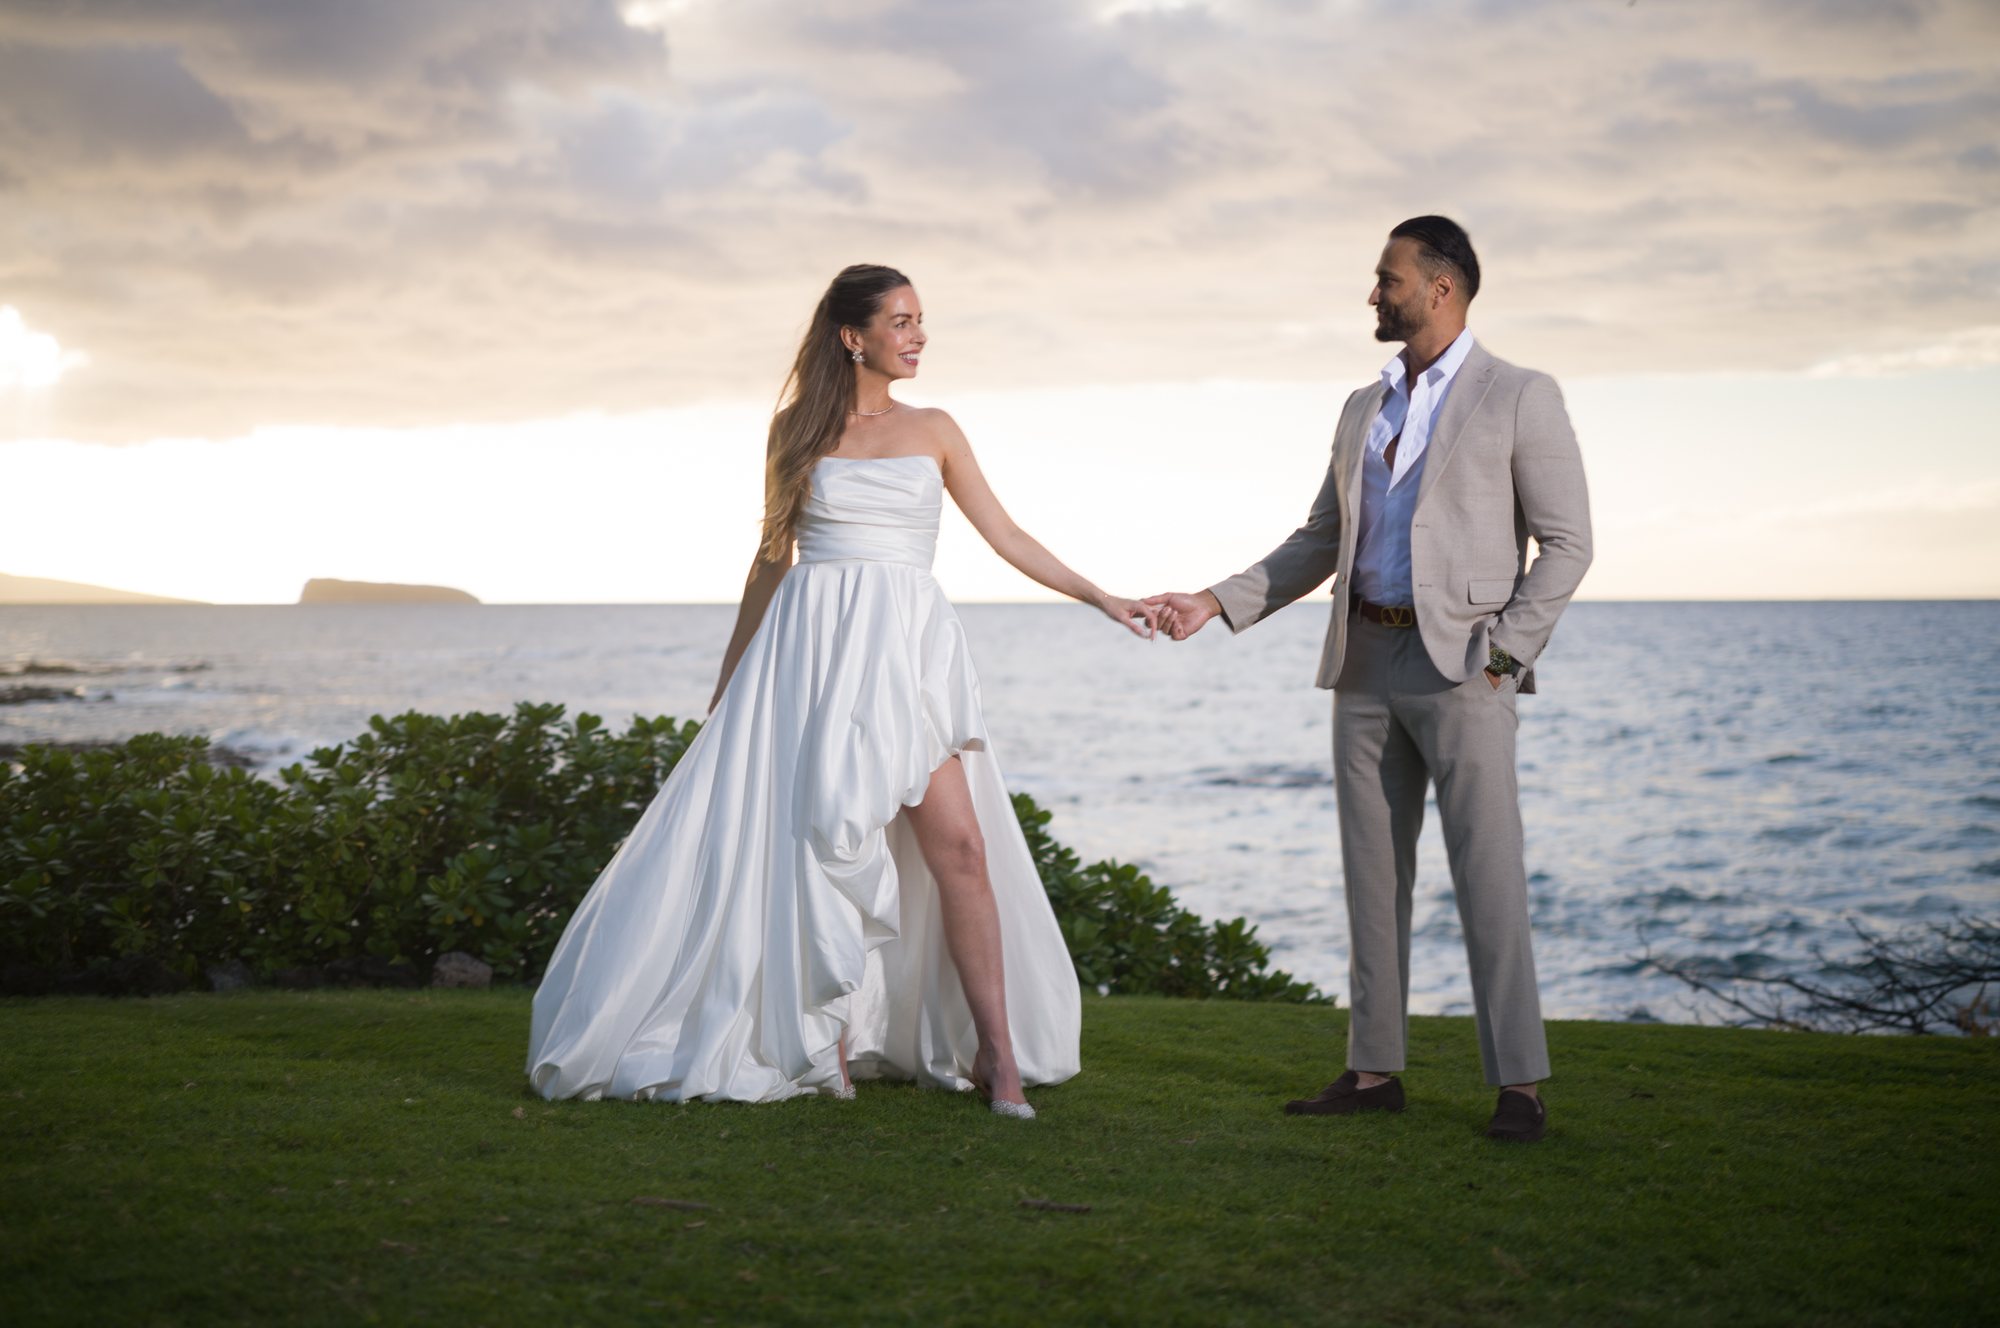
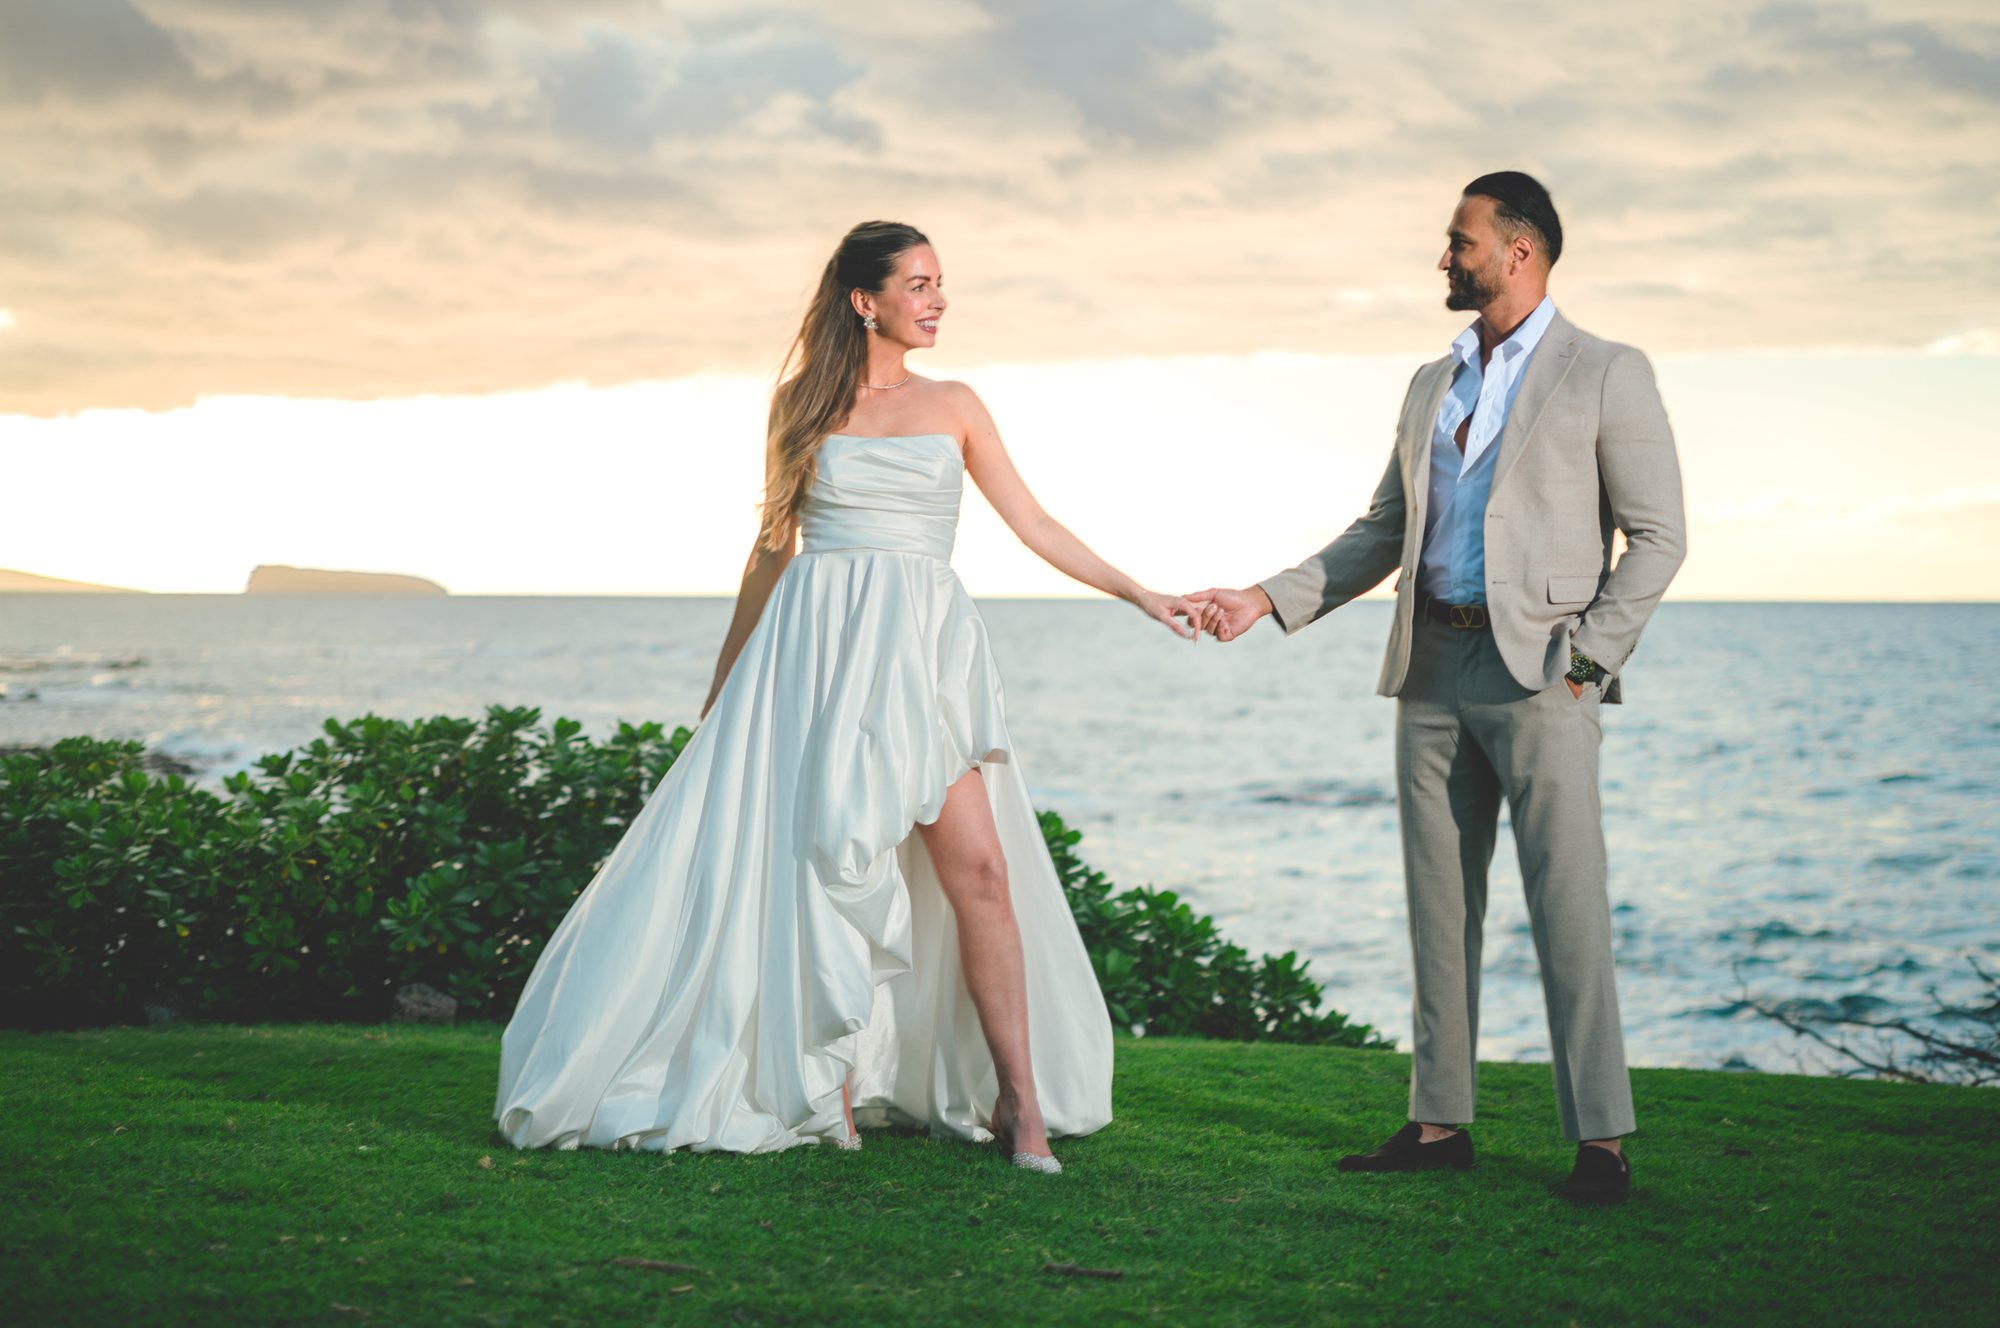
A bride and groom holding hands on a lawn above the sea at sunset, digital file The same couple with The 400H: pastel gown, deep lawn, soft peach sky Leica M11 straight out of camera (SOOC)400H
Golden hour above the sea. The gown goes pastel, the grass goes deep and cool, skin stays on the skin line.
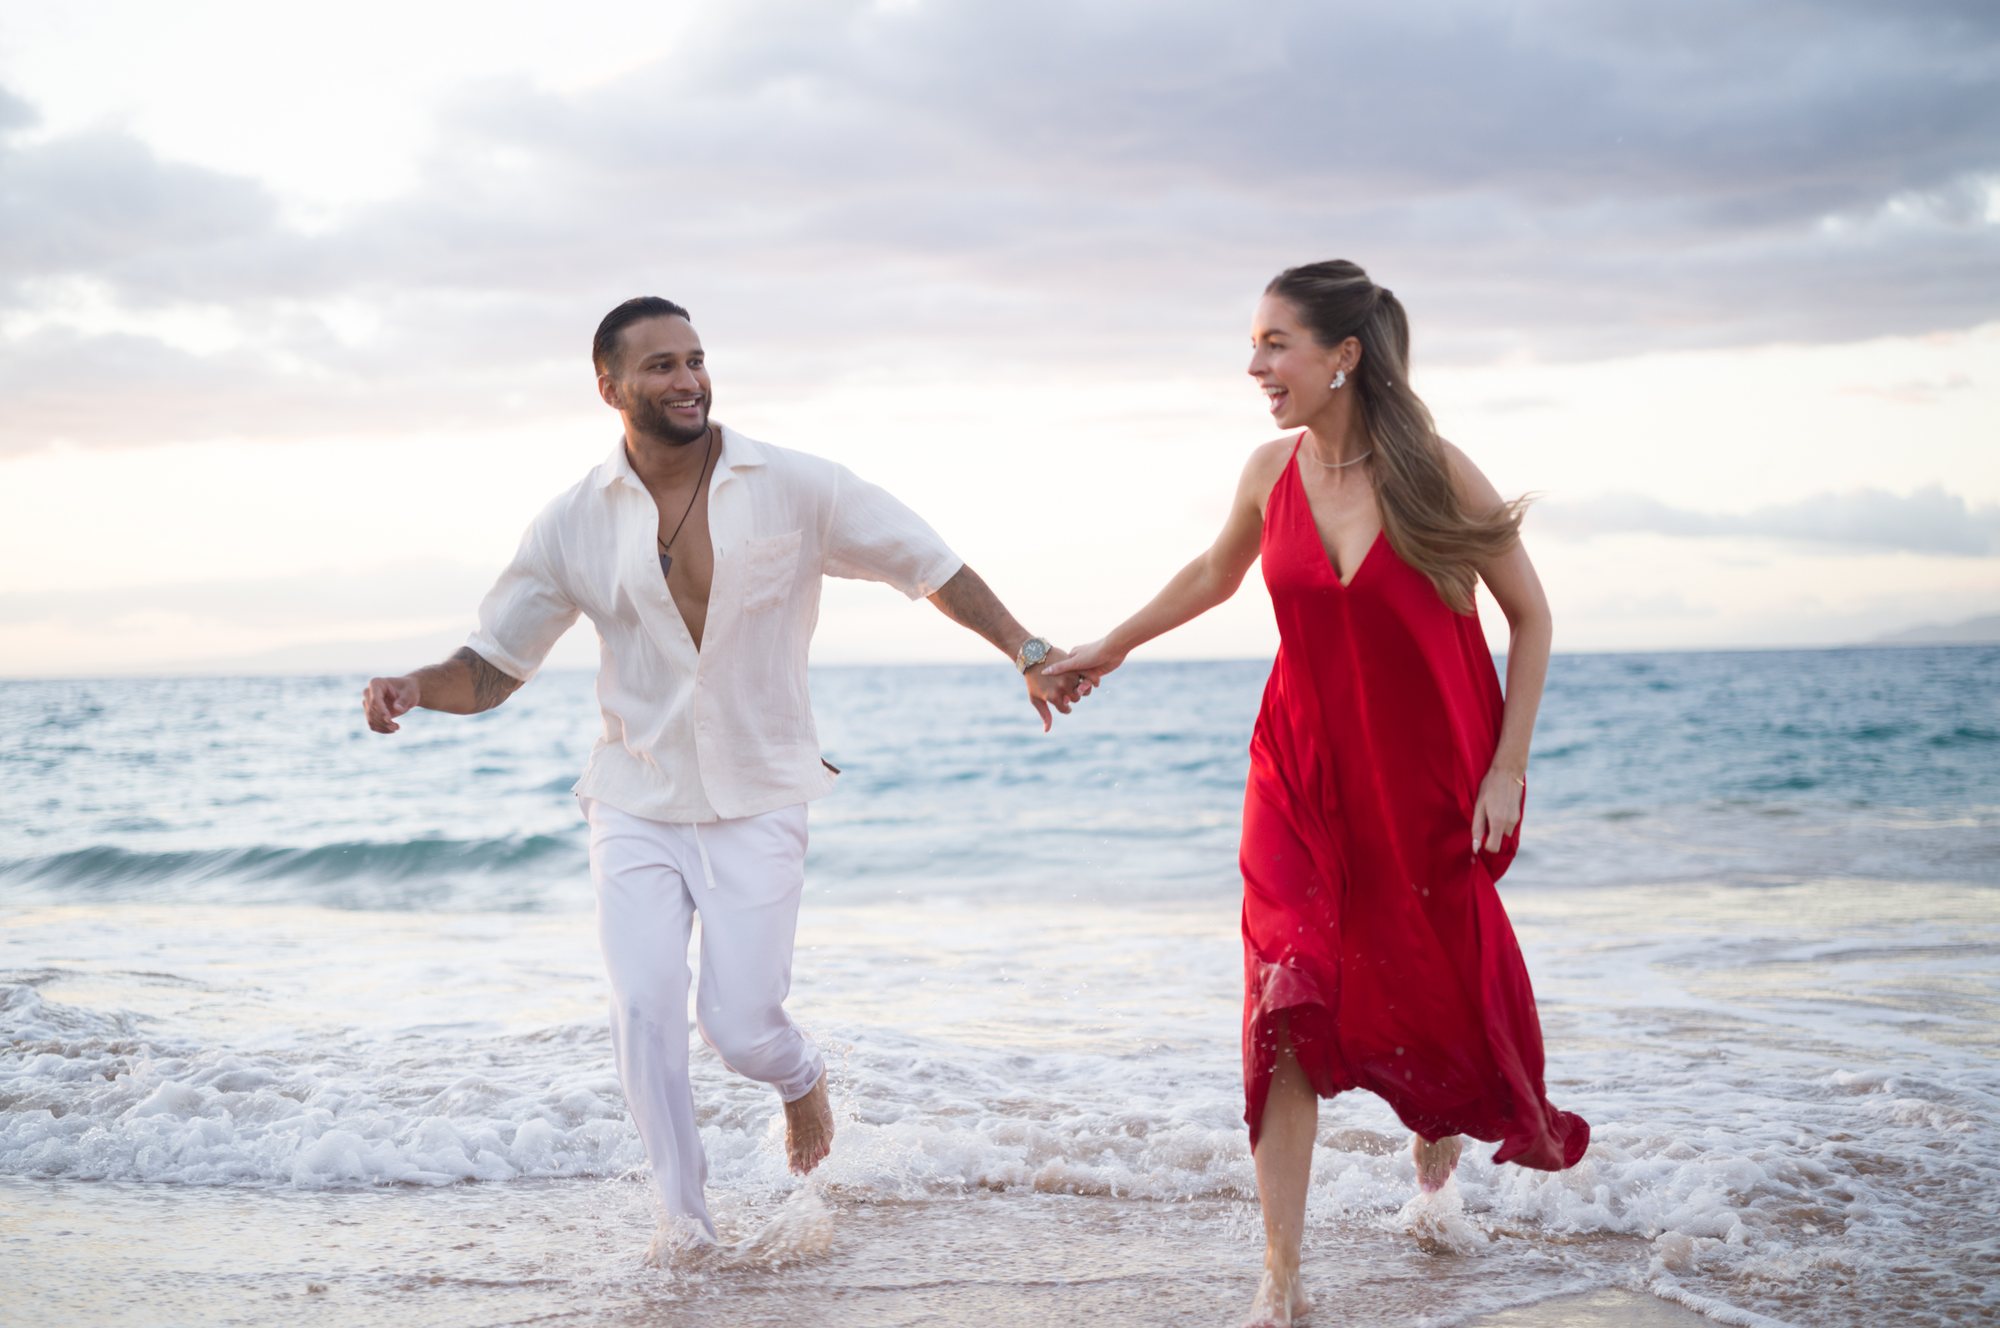
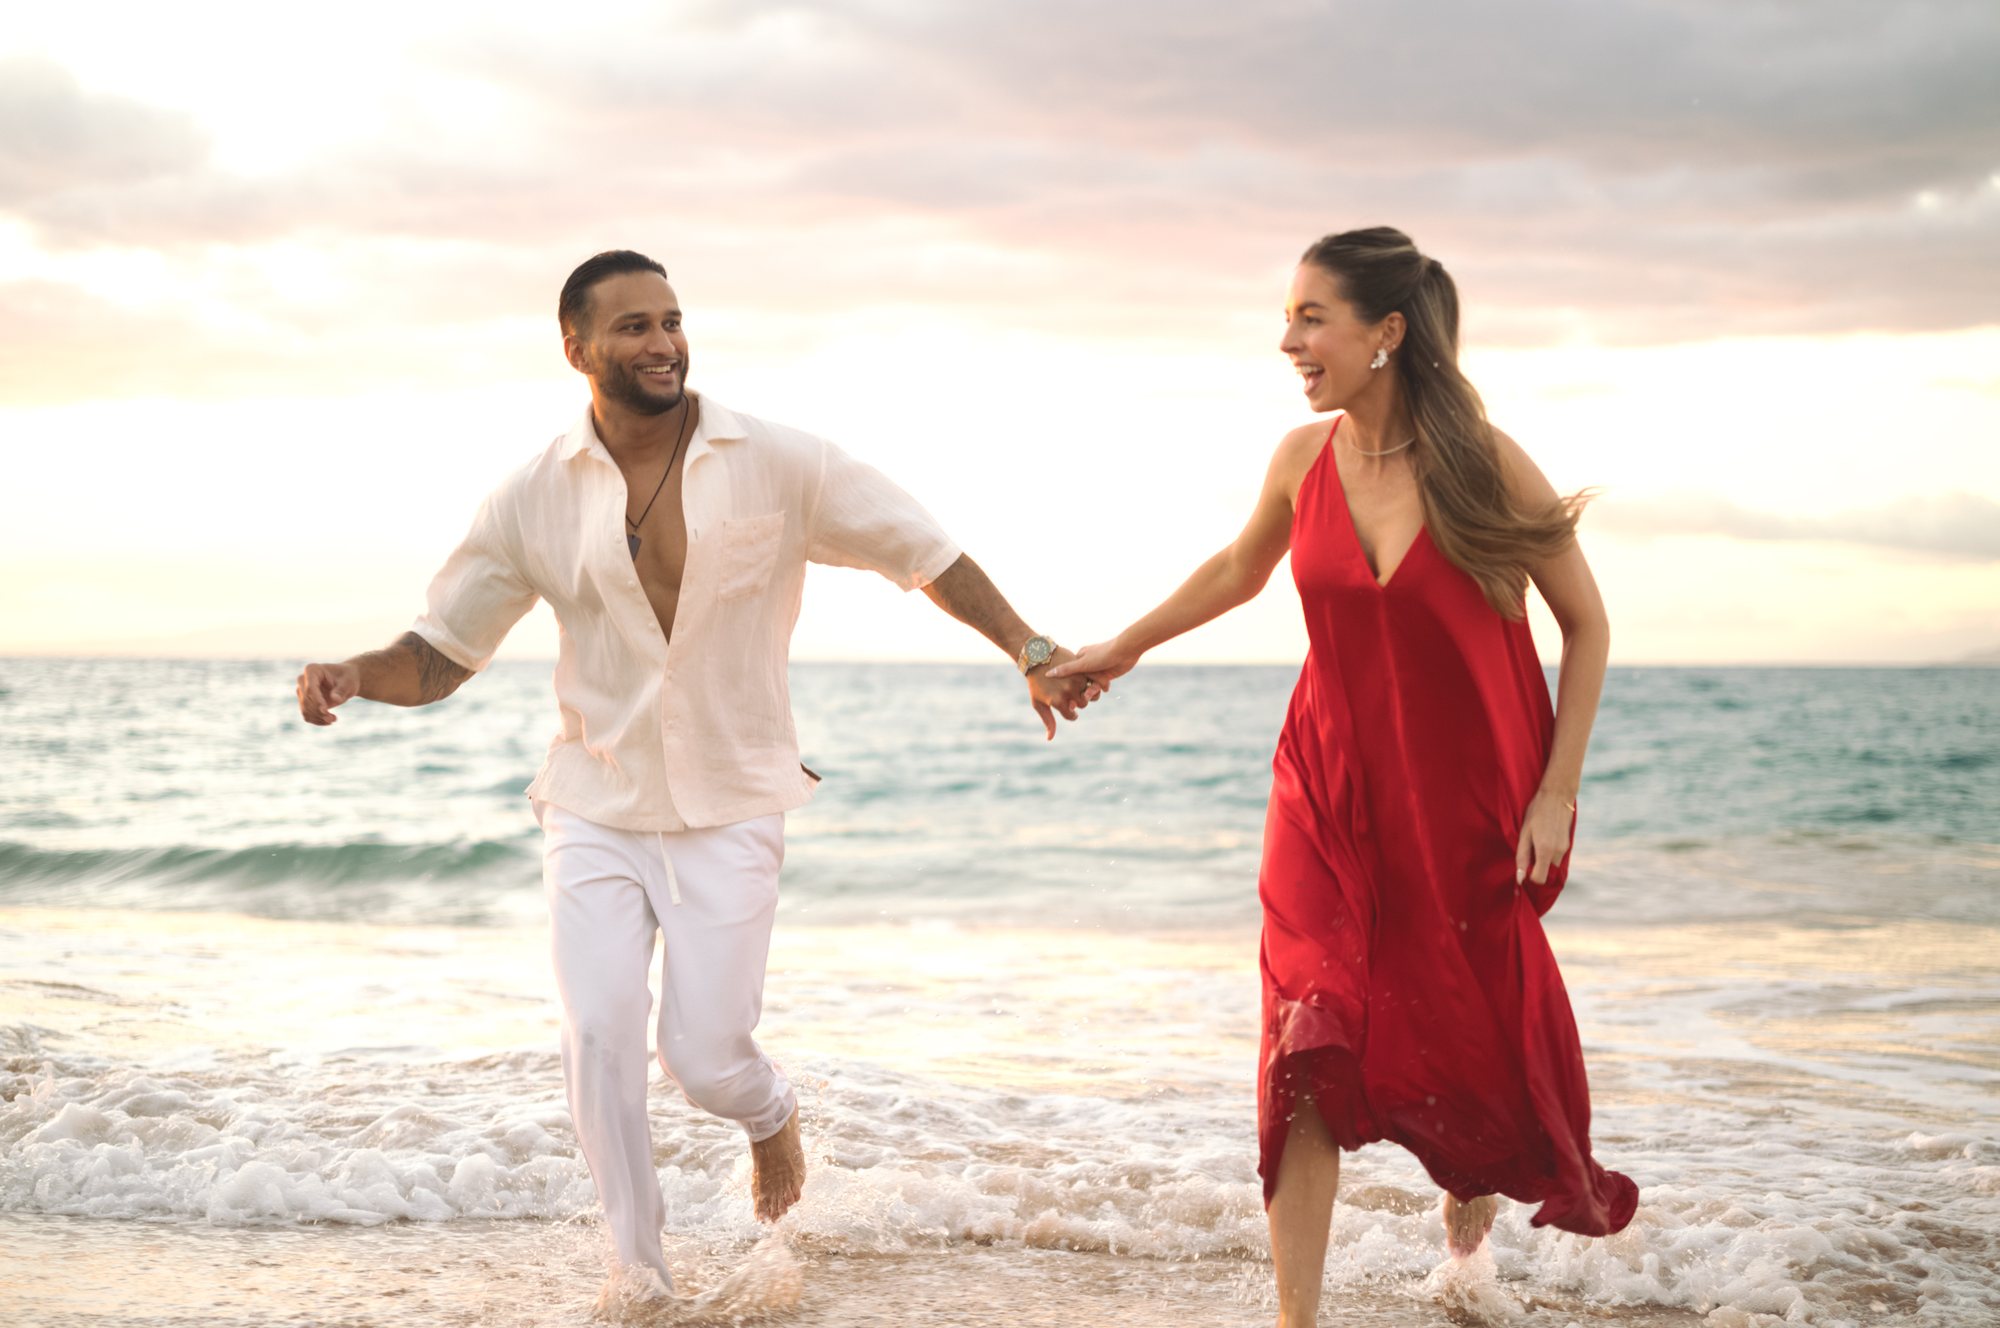
A couple running out of the surf at sunset, she in a red dress, digital file The same couple with The 400H: cyan-leaning sea, rich red dress, soft highlights Leica M11 straight out of camera (SOOC)400H
The sea leans cyan, the classic 400H blue, and the white shirt holds in the highlights.
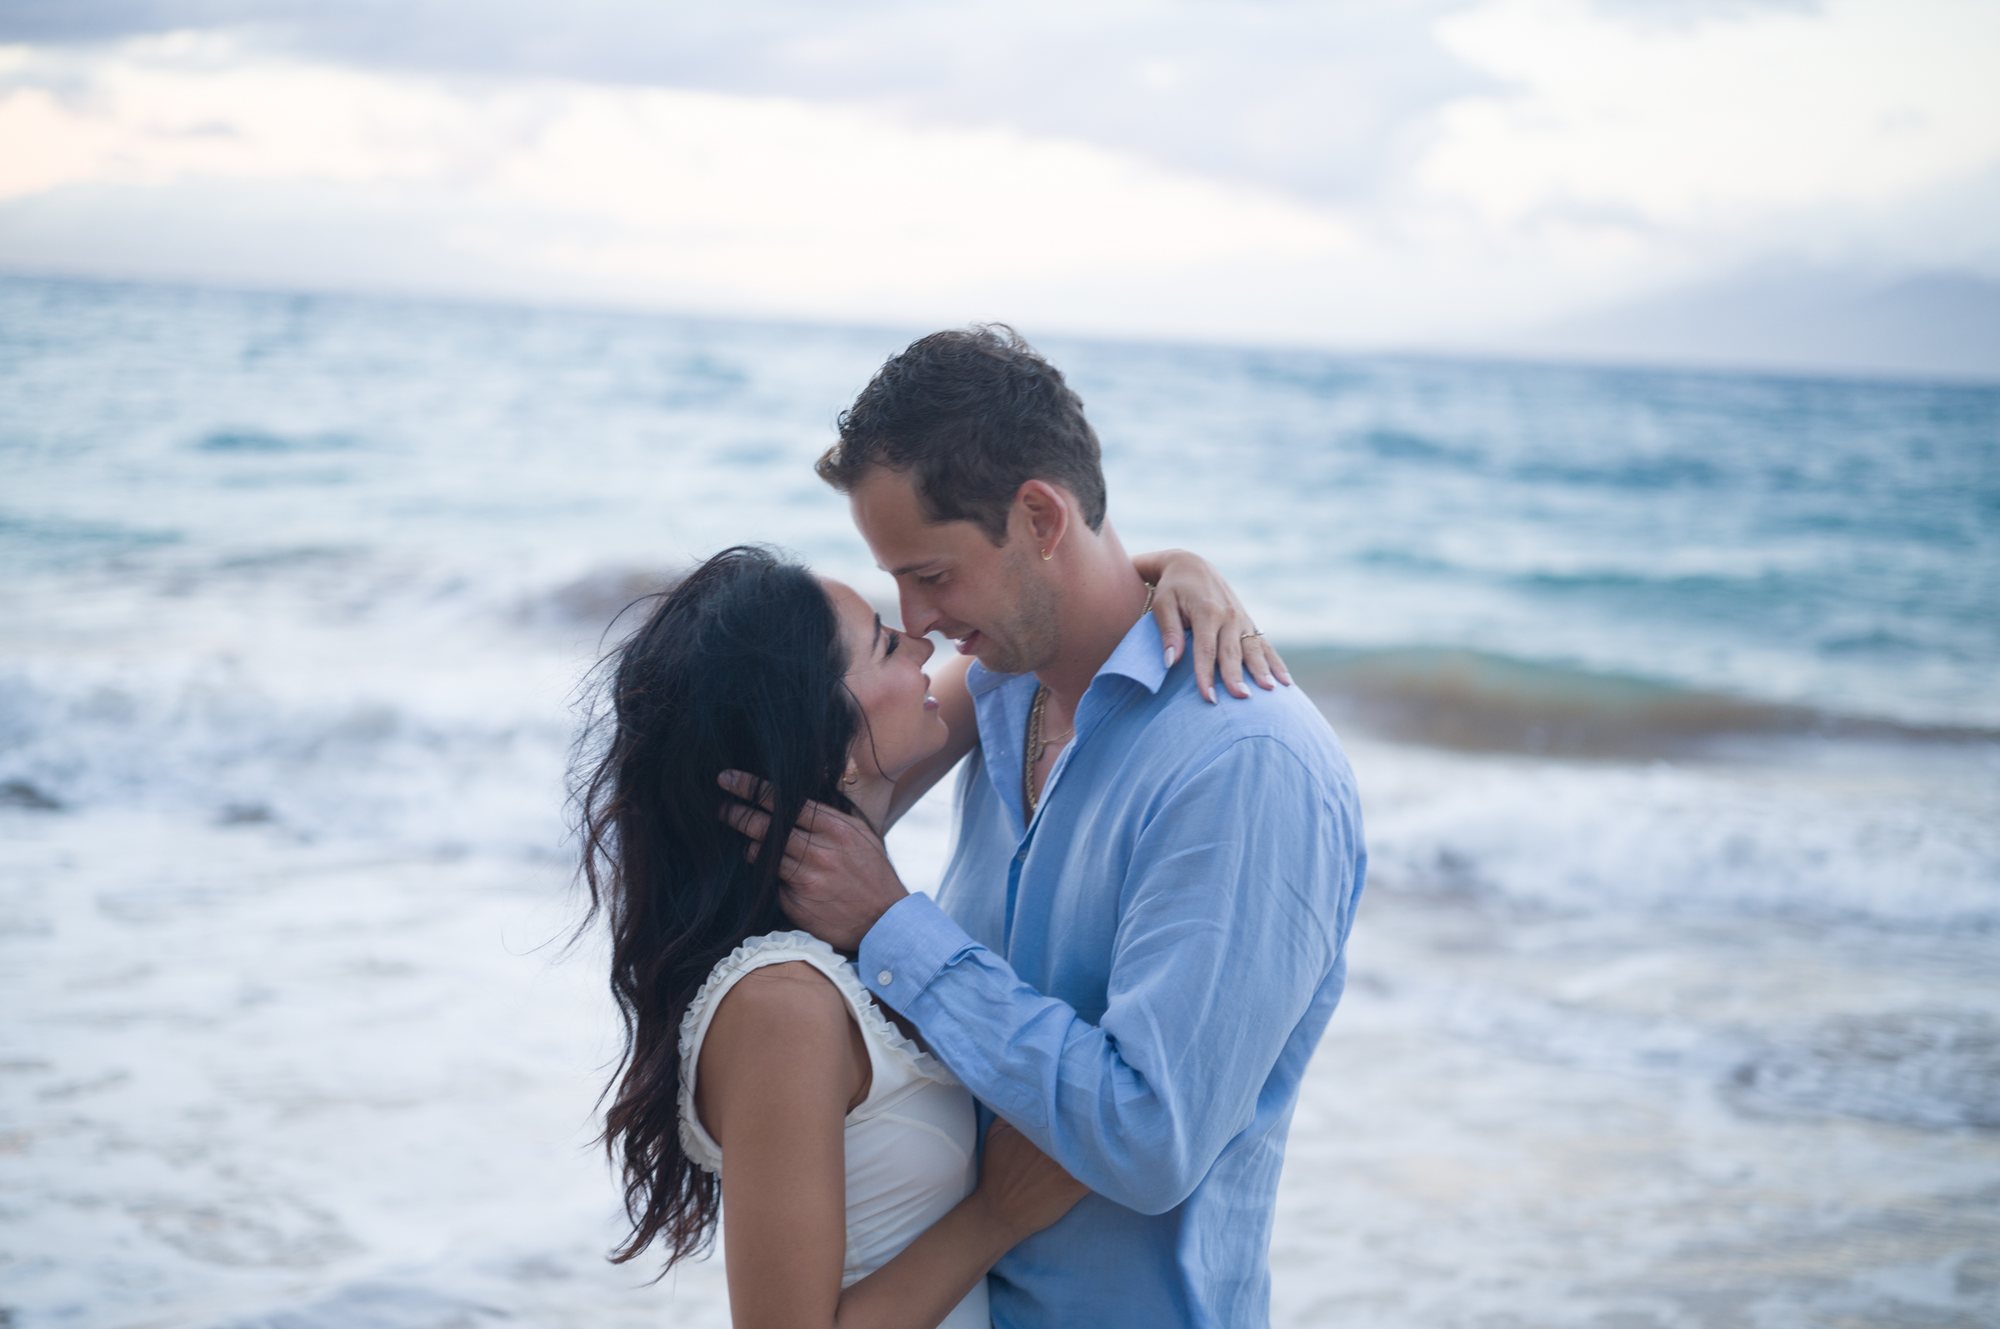
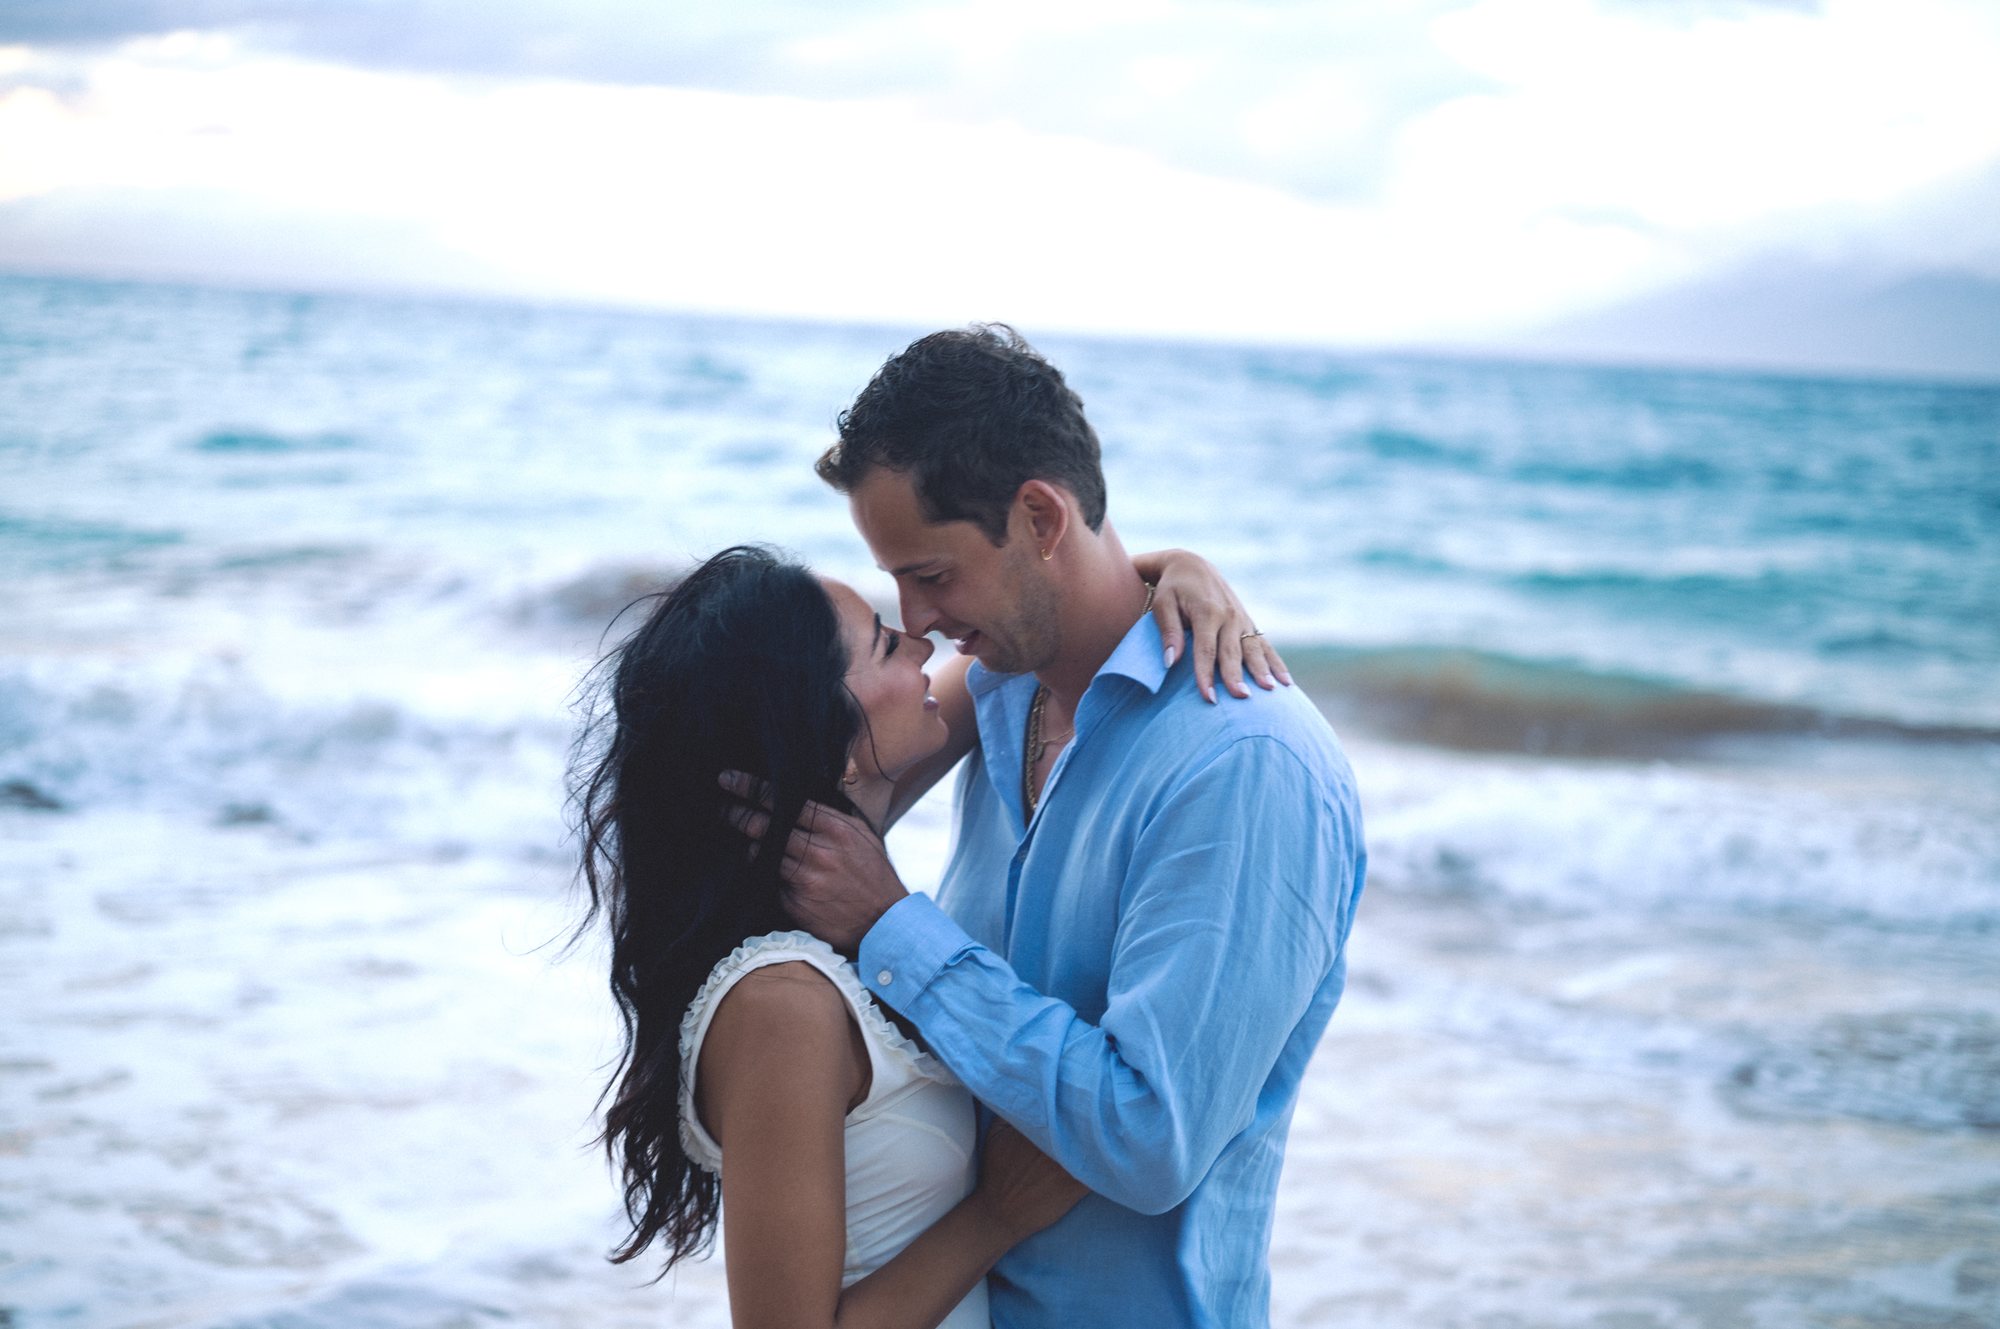
An engaged couple kissing on an overcast Maui beach, digital file The same couple with the 400H Overcast preset: more contrast, cyan sea, fine grain Leica M11 straight out of camera (SOOC)400H Overcast
Flat gray light is where digital looks flattest. The Overcast preset adds contrast and a little grain on top of the profile.

Three ways to shoot it

How you exposed 400H mattered as much as the film. The profile comes in three versions, the same simulation at three exposures:

Fuji 400H · rated one stop over, the classic lab-scan look
400H Overexposed · two stops over: airy, pastel, milky shadows
400H Box Speed · rated at 400: deeper shadows, more color

Presets, grain and skin

The profiles do the color. On top of them come eight presets, each a starting point for a kind of light: Standard, Overexposed, Box Speed, Golden Hour, Harsh Sun, Overcast, Portrait and Soft and Airy. Each one carries its profile inside it, and none of them touches your exposure or white balance.

Grain comes separately, so you can stack it on any look: 120 (fine), which is how most 400H weddings were shot and looks almost grainless, 35mm, and 35mm pushed. The Overcast preset has grain built in, because flat light is where a little texture helps most.

Skin. Real 400H drifted pink. Version 2.2 of the profile holds skin hues on the vectorscope’s skin line instead, without changing their saturation or brightness. Set your white balance first, and skin lands on the line and stays there.

What’s measured and what’s a choice

Honesty matters with these things. The spectral sensitivities, the fourth layer and the tonal curves are Fuji’s. Three things are ours: how strongly the fourth layer inhibits red (Fuji doesn’t publish it, so we set it a little below the eye’s negative lobe), how the Frontier-style scan balances and prints the negative, and the final color and contrast of that scan. Our first version was too pale and too teal on real wedding frames, so we retuned the scan on my own weddings until it looked like the 400H I remember from the lab, and added a skin-line lock so faces never go magenta. A datasheet can’t capture your lab, your scanner operator or the grain of a particular roll. What it can do is get the color physics right, and that is the part the old preset got wrong.

One tip: set your white balance before you apply it. 400H was balanced for daylight, and so is the simulation.

Questions

Is this a preset or a profile? Both. The color lives in three creative profiles, which hold a full color table rather than slider settings and leave your sliders free. The eight presets apply a profile plus a starting point for the light you shot in.

Does it add grain? Only if you want it. Stack one of the grain presets: 120 (fine), 35mm or 35mm pushed. The Overcast preset includes grain.

I bought the K64. Didn’t it include a 400H? It included an earlier bonus preset made by eye. This is a new product built from the film’s data, and if you bought the K64 you keep the bonus you downloaded.

More film? See the P160 for Portra 160, the K64 Kodachrome presets, and the M9 CCD profile.

Laurence Balter is a Maui-based fine-art and portrait photographer, a physicist by training, and founder of Wailea Photo. A print of his Molokai sea cliffs, made from the cockpit of his Cirrus SR22, is held in the Leica Archives. Follow along on YouTube and Instagram at @artistwithcameras. Built with Claude AI as a lab partner.